Holy buckets, friends. Guess what happened today? Besides the craziness that lead me to send my husband a novel of a text message outlining the intense psychosis that is staying at home with a 10 month old boy, 3 year old boy and 10 year old cat and the emotional and physical trauma that can enfold all before nap time.
Phew! Ok, what was I talking about again? That’s right! Guess what happened today?!? I found the piece of paper with the recipe for my (soon-to-be) world famous gluten-free, dairy-free Rhubarb Raspberry Pie. And honestly, not a second too soon. Like we discussed last week, rhubarb season is coming to a close and so is raspberry season. So take your sloppy seconds and throw them together into this amazing pie that will honestly stun health nuts, omnivores, vegetarians and those who enjoy the SAD (standard american diet) equally.
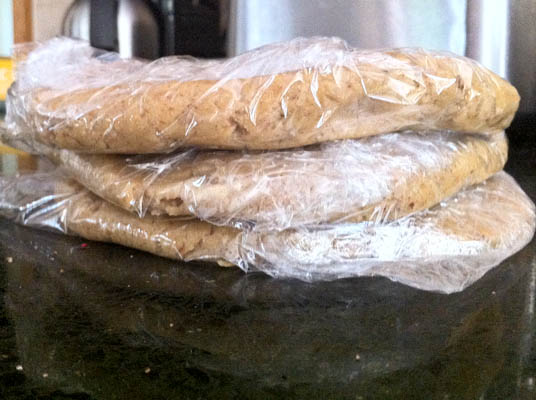
One you dice the rhubarb, this pie, including the pie dough, comes together at a moment’s notice. The only hang up is that the pie dough behaves best when allowed to chill in the fridge or freezer for a bit. So, I suggest making the pie dough (or a few to be safe, as these do freeze well) first then moving on to the rhubarb raspberry filling.
Don’t be dismayed if the time for rhubarb has already come and gone in your neck of the woods and you didn’t think to pick up a few extra bushels to freeze. Peaches, nectarines, plums, blueberries and cherries would all make amazing substitutes in this recipe. Simply adjust the amount of sweetener to correspond to the ripeness of your fruit. Or simply run to the frozen section of your health food store and pick up a bag of pre-diced, frozen rhubarb.
I used to be very intimidated by making my own pie crust and so I avoided doing it most of my adult life, relying on store bought, frozen whole wheat and spelt crusts to house my homemade creations. However, once going gluten-free I was unsatisfied by the price and nutritional quality of the pre-made gluten-free pie crusts. So, I started experimenting with simple press-in crusts. However, not all pies work well with a hearty oat and nut filled crust. Some pies simply deserve a fancy, buttery, rolled crust. My secrets for making pie crust are to keep a sense of humor, remember that all errors can be fixed, imperfections add character, let the dough CHILL and always use a food processor equipped with a dough blade.
When I went dairy-free and gluten-free my stand-by gluten-free crust needed some reworking, as the recipe called for both coconut oil and pastured organic butter. I was nervous that the dough wouldn’t roll or would be too gooey using all coconut oil, but to my surprise it actually worked! Honestly, the dough rolls a little funny, needing to be warmed and pressed with your hands and then gently rolled with a rolling pin. When you invert the crust onto the pie plate it will break into several pieces. However, the dough is easily worked and repaired into one pie crust.
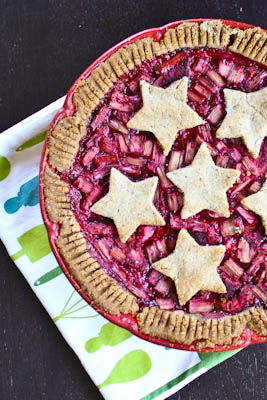
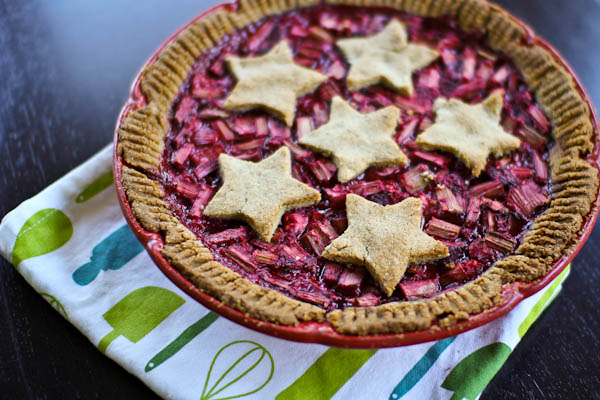
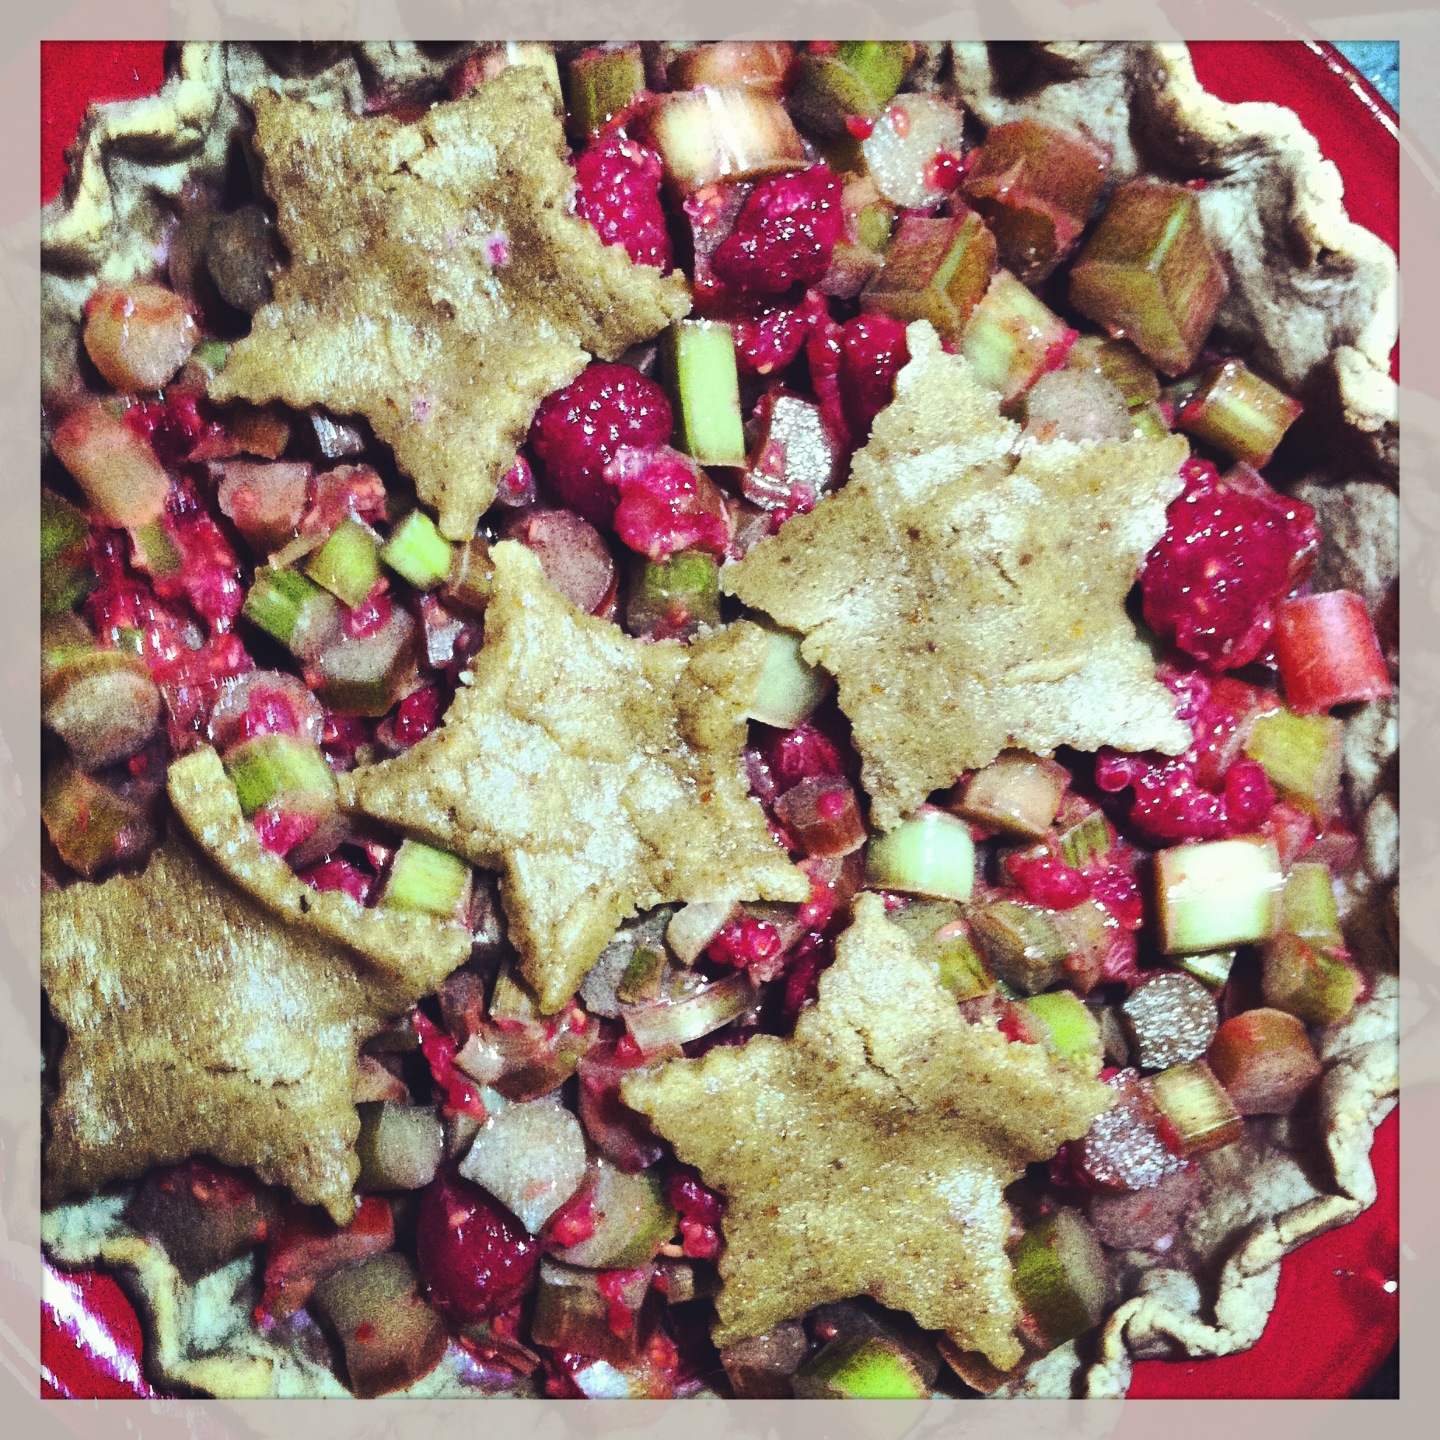
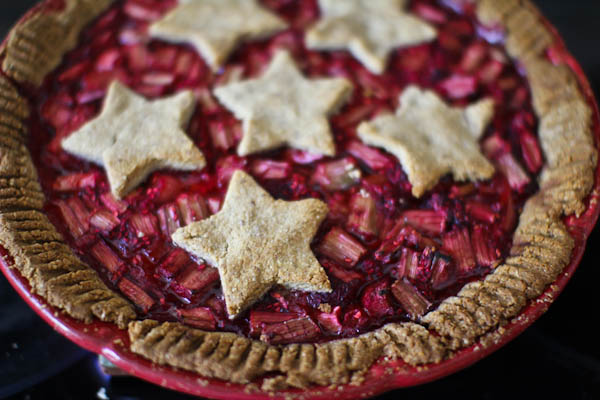
Since I planned to bring my pies to family events around the Fourth of July, I opted to use the extra dough pieces from each crust to cut out star shapes using a cookie cutter. Feel free to use whatever shape floats your boat or skip it altogether – no one will be the wiser.
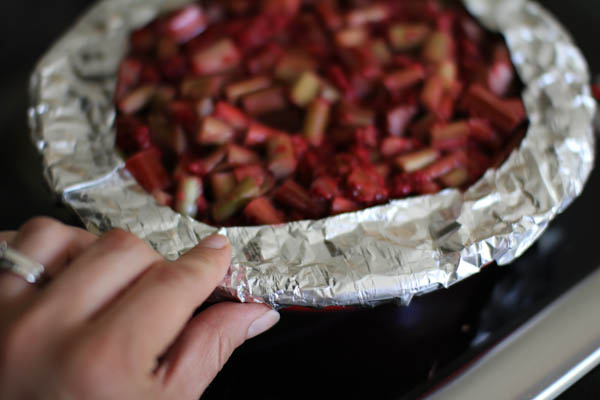
As you can see, the crust browns very nicely, meaning that you MUST use a pie shield. If you do not have a fancy schmancy pie shield (or three) you can make one using strips of foil neatly wrapped around the pie plate. Please do this prior to placing your pie in the oven and realizing half-way through the baking time that the crust is going to burn. Trust me, darling, no one wants burnt fingers.
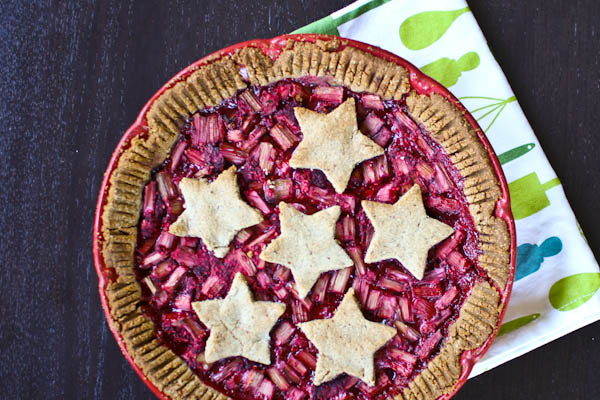
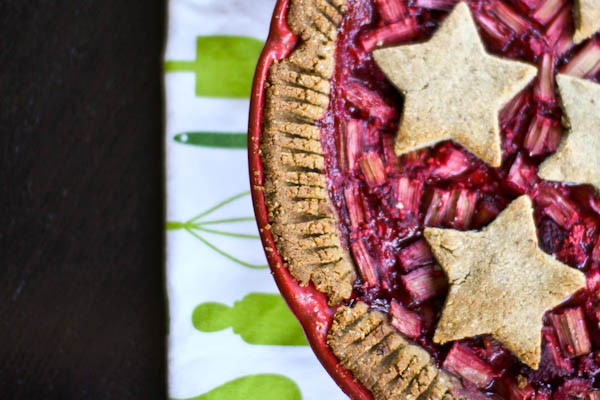
Also, feel free to edge this pie in whichever way you would like. I really liked the forked edge technique in the pic above, but did flute a few pies with this crust, as well.
Also, please save yourself some time and make several pies at once. They freeze amazingly and simply need a day or so in the fridge to thaw. The quality of the pie does not suffer one bit.
Pie Crust, Gluten-Free Dairy-Free

Prep Time: 25 minutes
Cook Time: 10 min
Ingredients (One 12 inch pie)
- 1 1/4 cups oat flour, gluten-free
- 2/3 cup almond meal or flour
- 1/4 tsp sea salt
- 6 tbsp coconut oil, chilled
- 2 tsp apple cider vinegar
- 1 tsp honey or maple syrup
- 1 large organic egg
Instructions
Chill coconut butter until hardened.
Place oat flour, almond meal and sea salt into a food processor outfitted with the dough blade (all plastic). Pulse a few times to combine.
Cut coconut butter into small pieces and add to the food processor. Pulse until coarse crumbs form.
Whisk the egg and vinegar in a small dish until fluffy. Add to the processor with the honey. Pulse until a ball forms in the food processor. Test the dough to see if it rolls nicely between your thumb and forefinger. If it is too wet/sticky add additional oat flour, 1 tablespoon at a time. If is crumbles and is too dry, add 1 tbsp of cold water at a time until you can easily roll the dough into a log shape.
Form the dough into a ball and place on a sheet of plastic wrap. Press the dough into a large, flat circle (see pic in the linked post). Wrap with plastic and refrigerate until well chilled, at least 1 hour or overnight.
Preheat oven to 350*. Grease your pie plate with coconut oil.
Roll dough out onto parchment paper that has been liberally sprinkled with additional oat flour. You may need to warm up the dough with your hands to facilitate the rolling. Also, it helps to start the smoothing with the palms of your hands and then move onto using your rolling pin. Roll to fit your desired pie plate.
Invert the pie plate in the middle of the dough and quickly flip the dough + pie plate + parchment over so the pie plate is right side up and the parchment is on top. Gently peel away the parchment paper from the pie dough. The pie crust will break into several pieces. Don’t worry, this is easily fixable. Gently press the crust into your pie plate, using the warmth of your fingers and palms to heat up the folds and create one uniform pie crust. This is time consuming, but not difficult. Breathe deeply.
Trim the pie crust to fit the plate and edge as desired.
Pre-bake crust for 10 minutes before filling.
Serve with Rhubarb Raspberry Pie Filling.
Rhubarb Raspberry Pie Filling

Prep Time: 10 minutes
Cook Time: 45-55 minutes
Keywords: bake birthday dessert spring summer toddler approved dairy-free gluten-free low-fat low-sugar soy-free vegetarian vegan July 4th spring summer
Ingredients (serves 8)
- 4 cups rhubarb, diced
- 1 1/2 cups raspberries
- 1/4 cup raw organic honey or organic maple syrup
- 2 tbsp lemon juice
- 1/4 cup arrowroot powder
- 2 tsp cinnamon
- 1 tsp vanilla extract
- pinch sea salt
Instructions
Preheat oven to 375*.
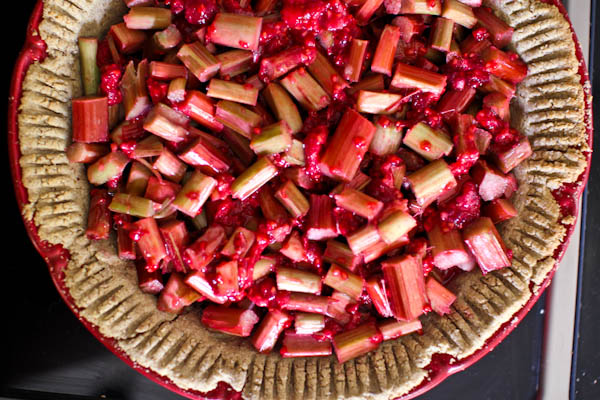
Combine all ingredients in a large bowl. Taste test. You may need additional sweetener if your fruit is tart.
Add filling to your pre-baked Pie Crust (see my gluten-free, dairy-free pie crust recipe for a great option!).
Shield pie crust with foil or a fancy schmancy pie shield.
Bake at 375* 45-55 minutes until filling is bubbly, thickened and baked down.
Serve warm or at room temperature, preferably with coconut milk ice cream or coconut whipped cream.
This pie freezes amazingly, so make extras!

dog leash
Rhubarb Raspberry Pie