Can you believe Easter is only a little over two weeks away? I know that some of you are busily planning your Easter brunch menus, children’s activities and household tasks to be completed before the big day while others haven’t given Easter a second thought. I figured this would be the perfect opportunity to share an experiment that we conducted last year as a family that was not only fun, but I am sure will become a family tradition.
Two years ago Allan and I dyed eggs using this natural egg dye that we picked up at Whole Foods. We were less than impressed with the results. Our eggs were nearly colorless. However, that may have been user error. As I accidentally hard boiled the eggs prior to reading the instructions, which instructed you to boil the eggs in the dye.
Either way, last year I decided that we would take a stab at creating our own natural Easter egg dyes from things that we already had around the house. I spent hours researching methods and devised a plan. The following is a pictorial documentation of what we did. Unfortunately, I misplaced my plan of attack from last year and am going from memory alone, so I do not have specific recipes to share with you. However, I did save links to the resources that I used (Z Recommends and Emily Weaver Brown Photography) to loosely base our egg dyeing experiment. Each of which did a better job at documenting than me. I promise to write down and preserve what we do this year so as to give you (and myself) a better plan of attack next time.
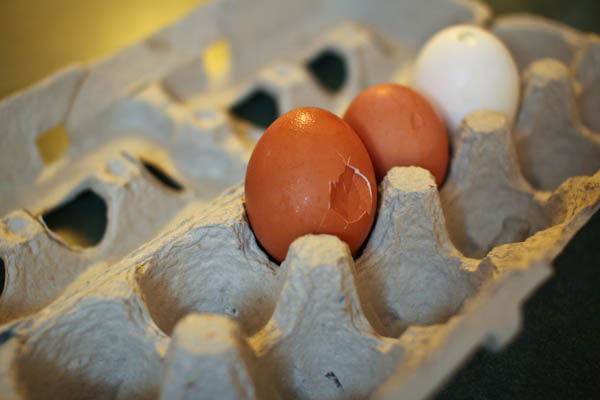
First we hard boiled both brown and white organic eggs using the Martha Stewart Method. Basically, place your eggs into a large pot of water and cover will cool water. Bring the pot of water with the eggs in the water to a boil. Once boiling, cover and shut off the heat for 12 minutes. Drain eggs into a colander and place in an ice bath or run cold water over the top until the eggs are cooled. I fill a small area of my sink with cool water and place ice cubes in the colander with the hard boiled eggs, immersing the eggs in an ice bath..
There were a few casualties. These eggs were used with the turmeric/vinegar concoction pictured below.
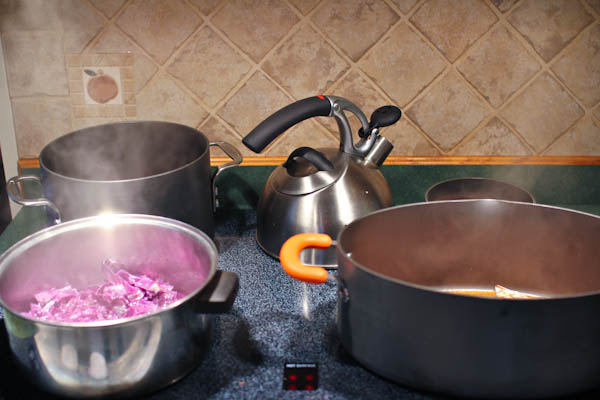
During this process I felt like a mad scientist or wicked witch with all of these random veggies and peels simmering away on my stovetop.
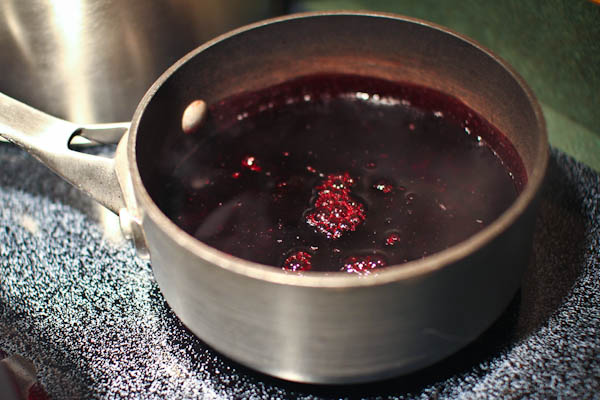
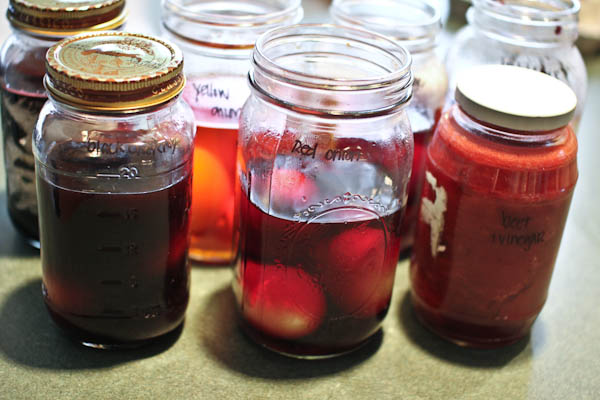
Red cabbage, simmered in a little water until the water was very deeply colored. I then strained out the solids and used the remaining colored water to dye my eggs.
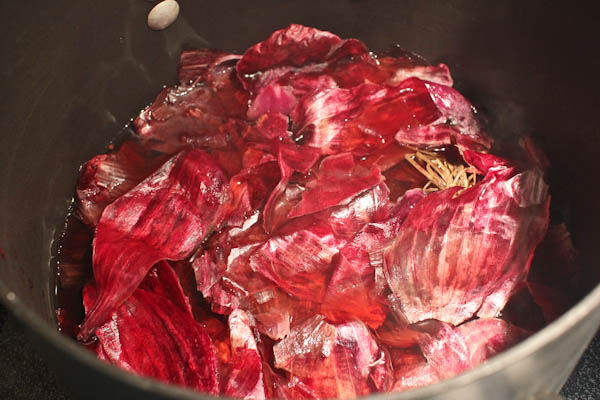
Red onion skins prepared the exact same way as the cabbage. Some people actually wrapped their raw eggs in the simmered onion skins and then hard boiled the eggs. I thought that this was intriguing, but I chose to simply simmer and strain the skins.
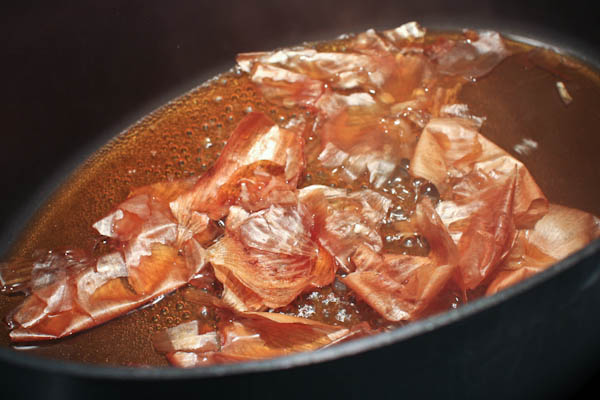
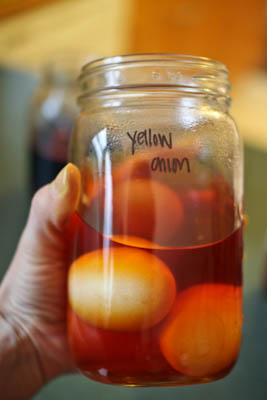
Yellow onion skins, prepared in the same manner as above.
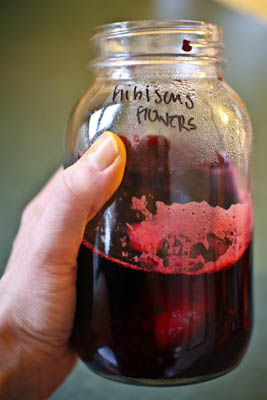
I steeped hibiscus flowers, which I purchased in the bulk spice department of Valley Natural Foods, in water until the liquid reduced significantly and the color was very intense.
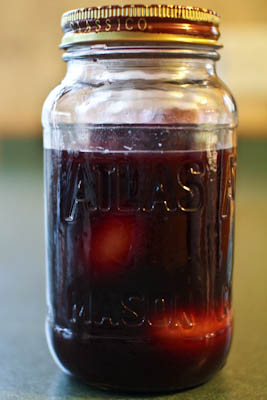
I also purchased black cherry juice at Target and used it straight up as a dye. Not pictured is a can of thawed, previously frozen, grape juice concentrate that was also used straight up as a dye.
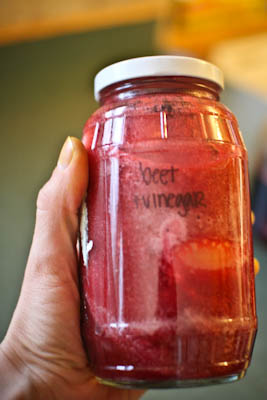
I bought steamed beets from Trader Joe’s and combined a few of the beets (3-4 small) along with the juice from the package with a little water in the VitaMix and blended away. I then added a few tablespoons of vinegar.
Here is the resulting liquid from the yellow onion skins.
And the hibiscus flower liquid. I decided not to strain the hibiscus flowers from the liquid, because I felt having the flowers in the liquid might help to intensify the dye as it sat.
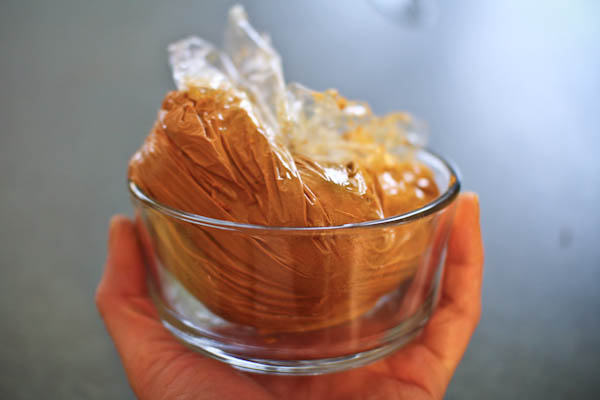
The following is a paste that I created by combining turmeric powder and vinegar. I then placed the eggs and paste on a large piece of plastic wrap and coated each egg heavily in the paste. After each egg was coated I wrapped them up in the plastic wrap. My fingers and nails were stained yellow for at least 24 hours.
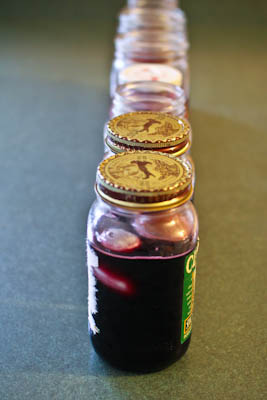
All of the jars with natural dyes lined up on the countertop before going into the fridge.
We let the eggs sit in the fridge for 6 hours before checking on them. Most of the eggs stayed in their dye for a full 24 hours.
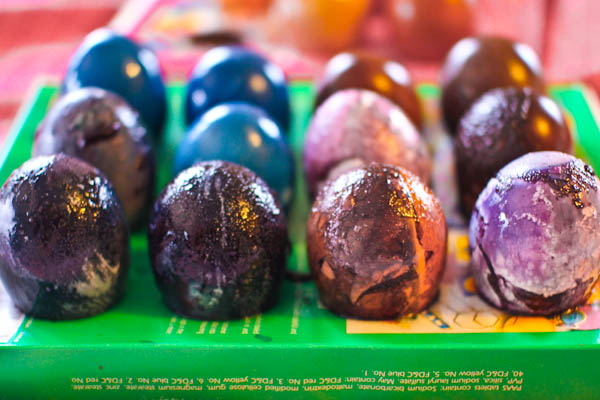
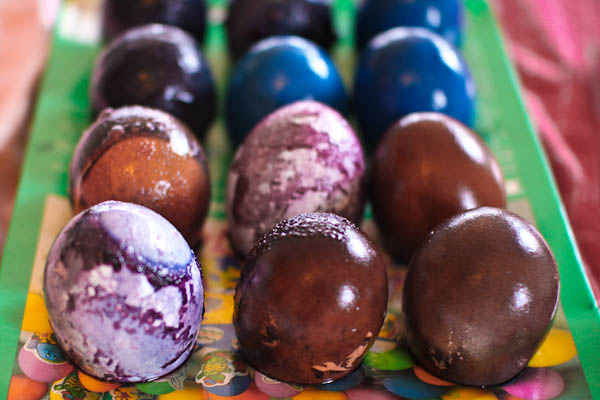
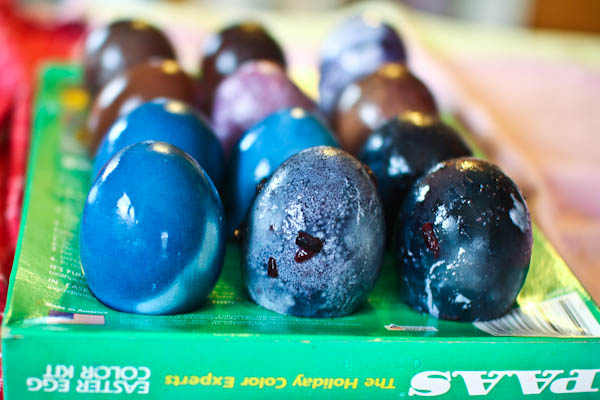
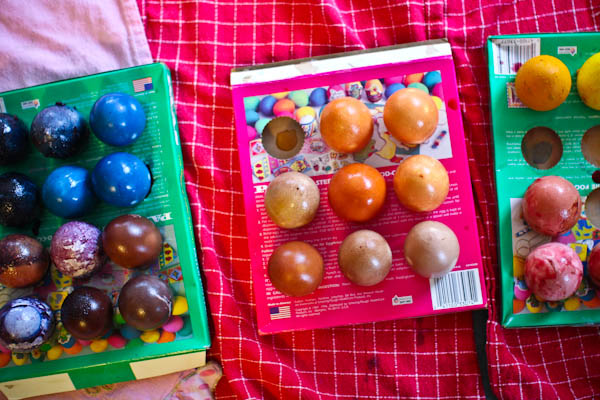
Here are the resulting eggs straight from the dye, prior to being dried. Notice that we used old drying racks from Paas egg dyeing kits from my childhood that my mother has stashed away in her basement.
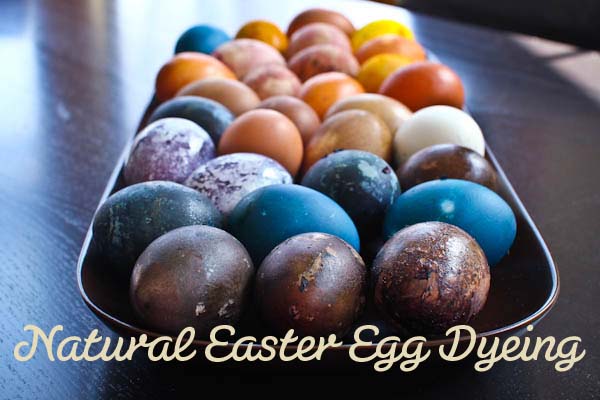
blue = red cabbage
black/dark purple = hibiscus flowers
lighter purples = either black cherry juice or grape juice concentrate on both white and brown eggs
Below, the left front bright purple eggs are grape juice on white eggs and the right front deeper purple eggs are black cherry juice on brown eggs.
A better view of the blue cabbage dyed eggs and the deep purply black hibiscus dyed eggs.
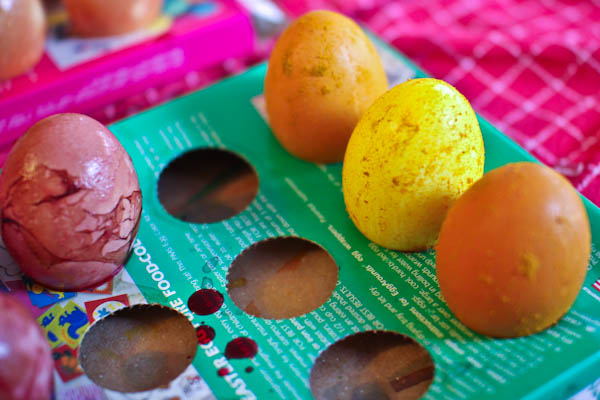
bright yellow = turmeric + vinegar paste
pink = pureed beets + vinegar
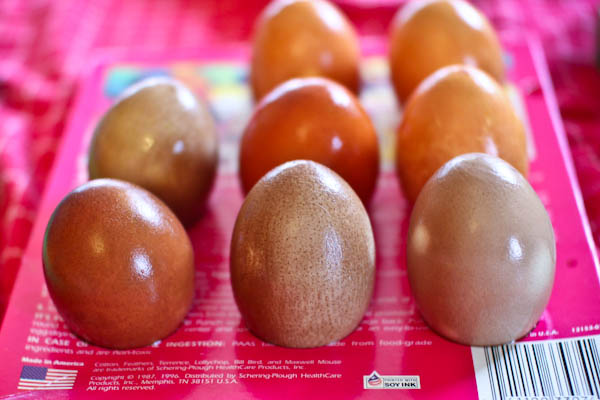
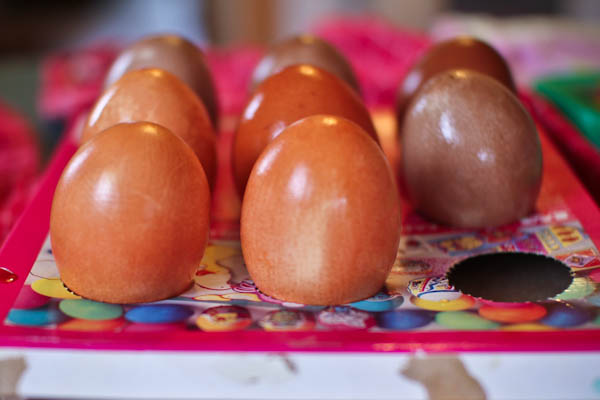
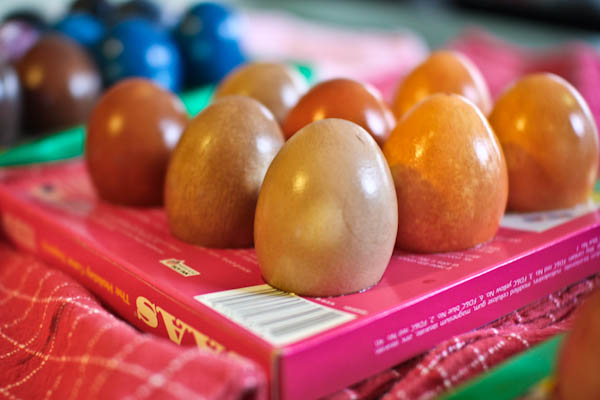
These are the brown eggs that we dyed. I believe that these are yellow onion and red onion skins.
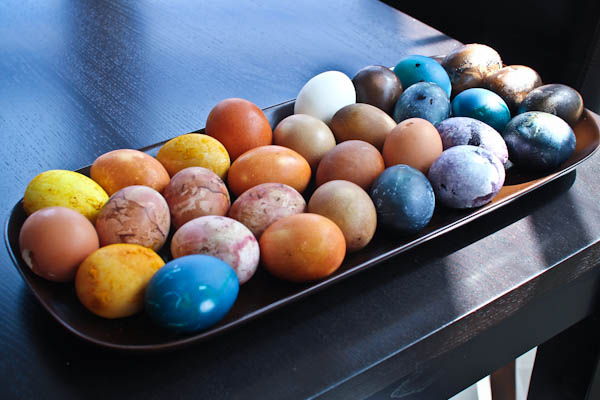
The following photos show how all of the eggs looked once dry and refrigerated for 24 hours.
Happy Egg Dyeing!
What is your favorite Easter tradition?
Last year instead of hosting an Easter lunch with ham, mashed potatoes, etc. I switched things up and began an Easter brunch tradition. I loved the more laid back atmosphere featuring my favorite meal of the day – breakfast!


Leave a Reply